

Invoice
An invoice is a final price offered to your clients after confirming a sale, outlining items, rates, and terms.
Navigate to the Sales dropdown, select Invoice, and click "Add New" to create a new invoice.
Note: You can skip this step if you are generating the invoice directly from a quotation.
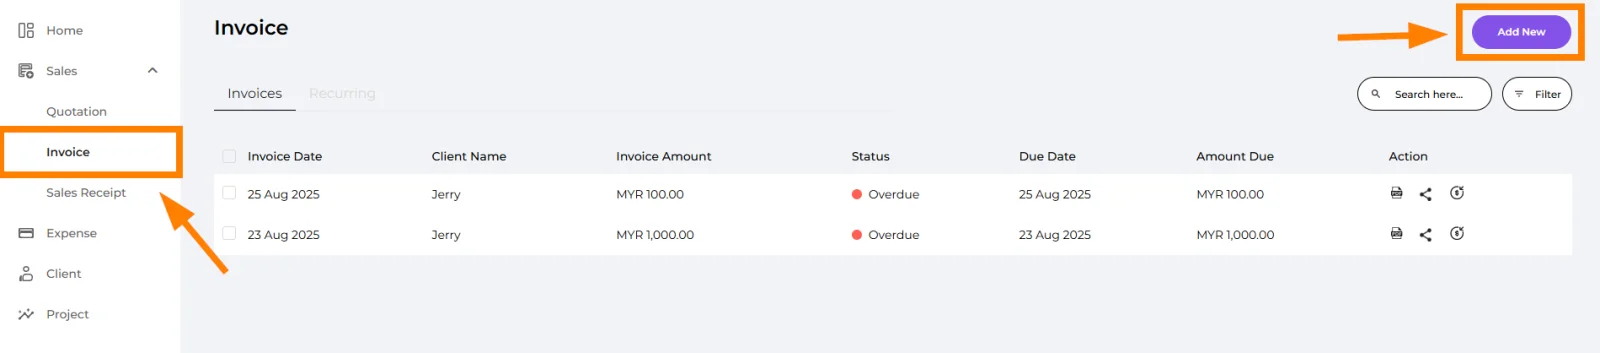
🔹 Invoice Date (Required)
Select the date the invoice is issued.
🔹 Set Recurring (Optional)
Choose how often this invoice should repeat — Never, Weekly, Monthly, or Yearly. If you pick a recurring option, set a Start Date and End Date.
🔹 Payment Terms (Required)
Select by when customer should pay you.
- Cash on delivery → Customer should pay you on the spot
- 15 days → Customer should pay you within 15 days
- 30 days → Customer should pay you within 30 days
- 45 days → Customer should pay you within 45 days
- 60 days → Customer should pay you within 60 days
- 90 days → Customer should pay you within 90 days
🔹 Project Tags (Optional)
Assign tags to link the invoice with specific projects for easier tracking.
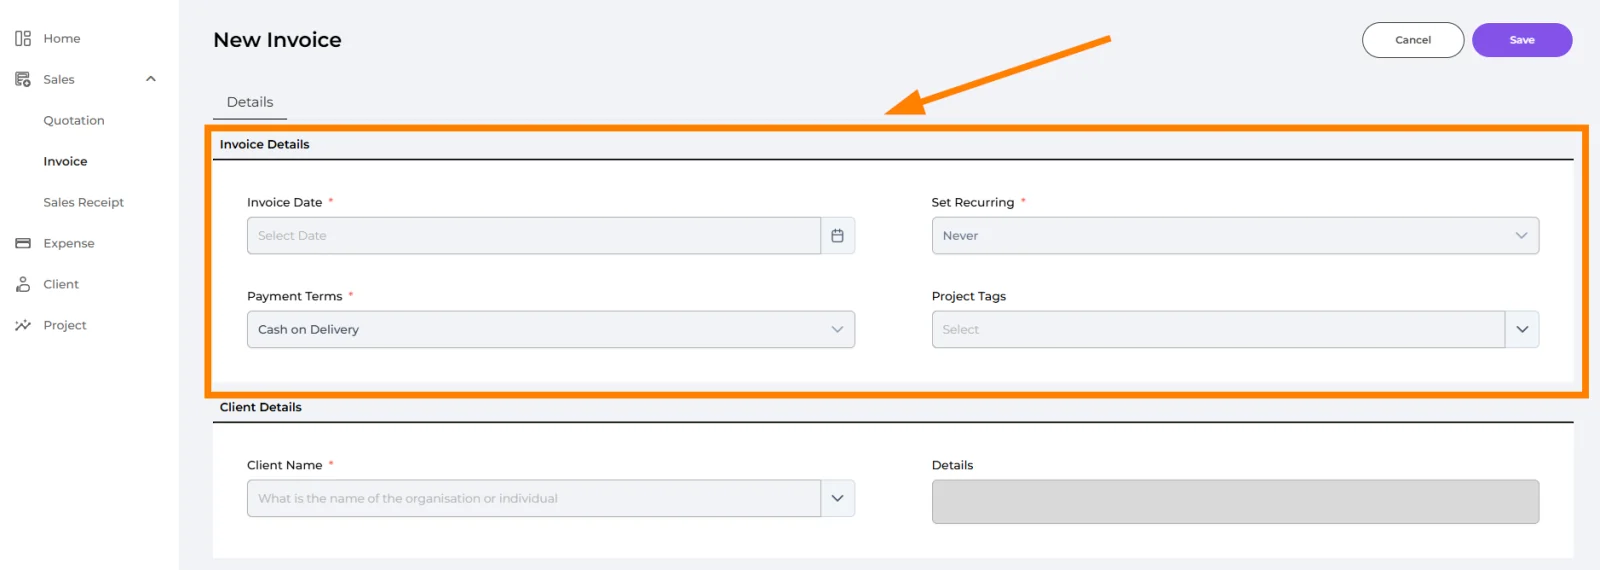
🔹 Client Name (Required)
Select or type your customer’s registered name. This links the invoice to the correct client profile.
🔹 Details
Auto-filled with the contact person and contact number once the client is selected.
Note: You can skip this step if you are generating the invoice directly from a quotation.
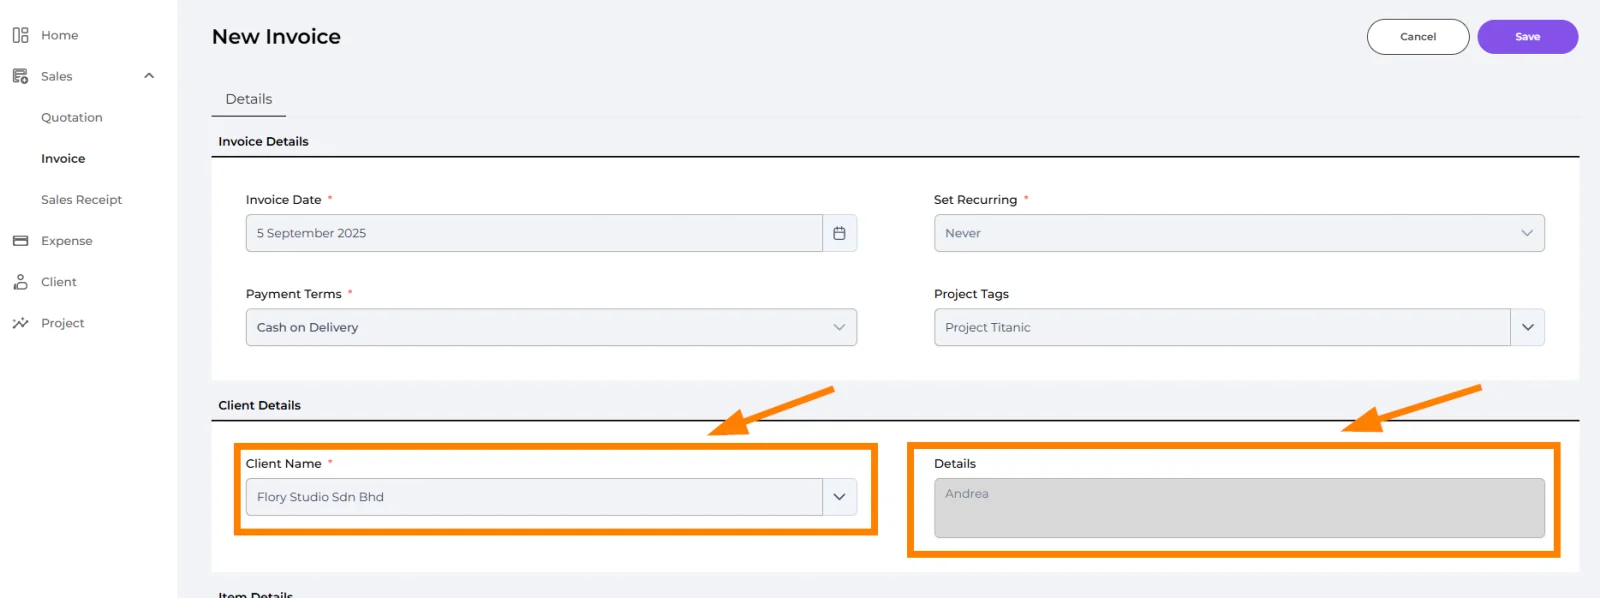
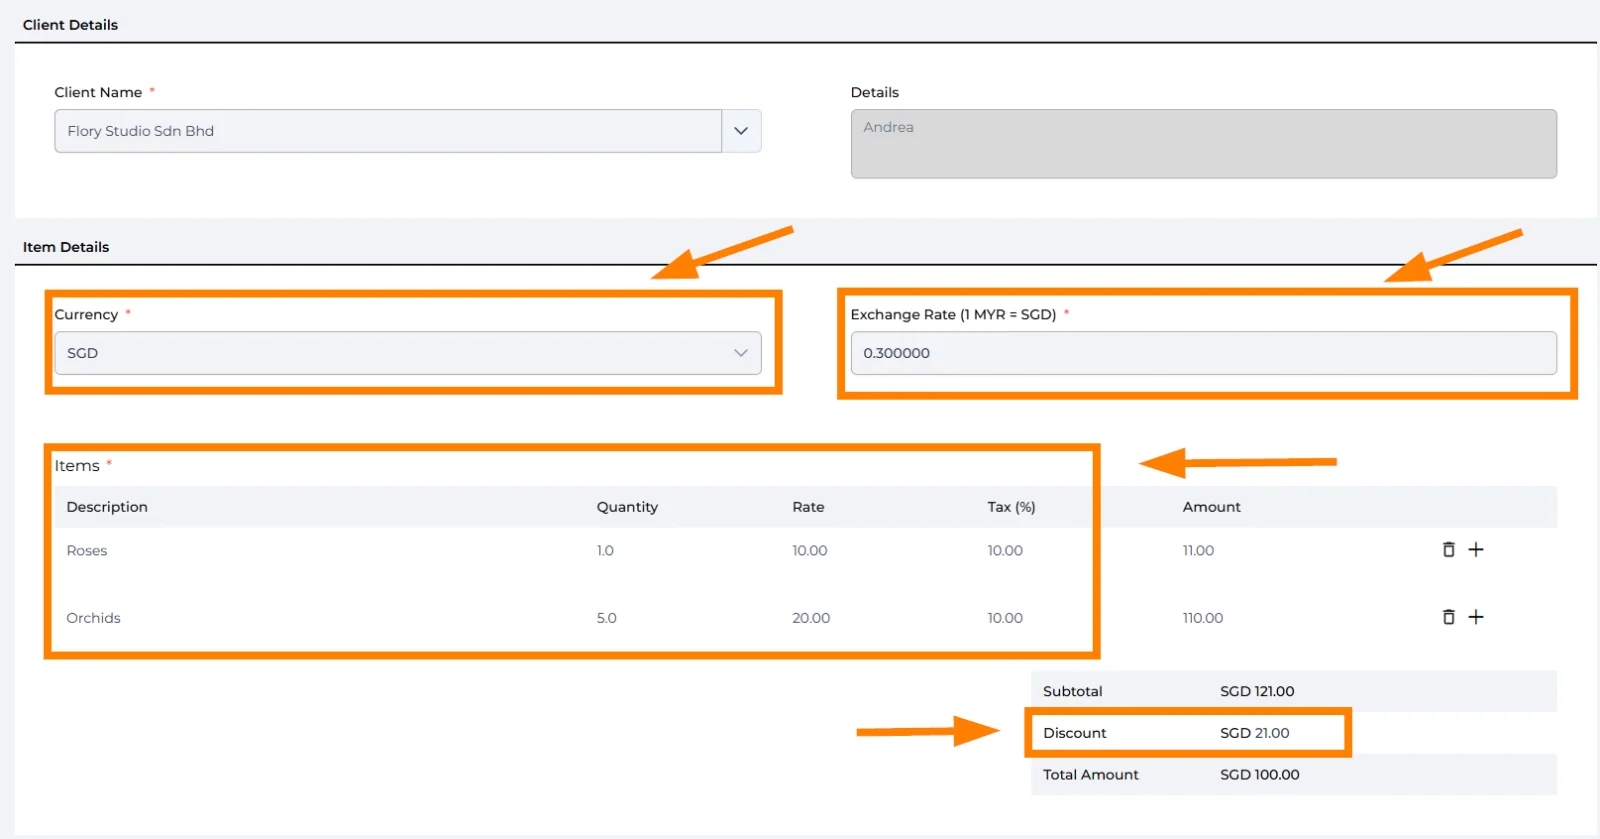
🔹 Currency (Required)
Select the currency for the quotation (e.g., MYR for Malaysian Ringgit).
🔹 Items (Required)
Add the products or services being quoted. Complete the following fields for each item:
- Description: Name of the product or service.
- Quantity: Number of units.
- Rate: Price per unit.
- Tax (%): Applicable tax rate (e.g., SST 6%).
- Amount: Automatically calculated as (Quantity × Rate) + Tax.
🔹 Subtotal
Displays the total amount before discounts or additional adjustments.
🔹 Discount (Optional)
Enter any discount amount or percentage offered to the client.
🔹 Total Amount
Shows the final payable amount after applying discounts.
Option 1: If your quotation is in MYR (Malaysian Ringgit), fill in the standard fields as listed.
Option 2: If your quotation is in another currency, an additional Exchange Rate field will appear, which you must complete.
🔹 Notes
Add any additional terms, conditions, or special instructions you want to share with your client (e.g., “Valid for 30 days”, “10% downpayment required to confirm”).
By default, a standard remark will be included automatically. You may click "Modify" to edit and personalize the remark as needed.

Click the "Save" button to store the invoice details. invoice is created! 🎉
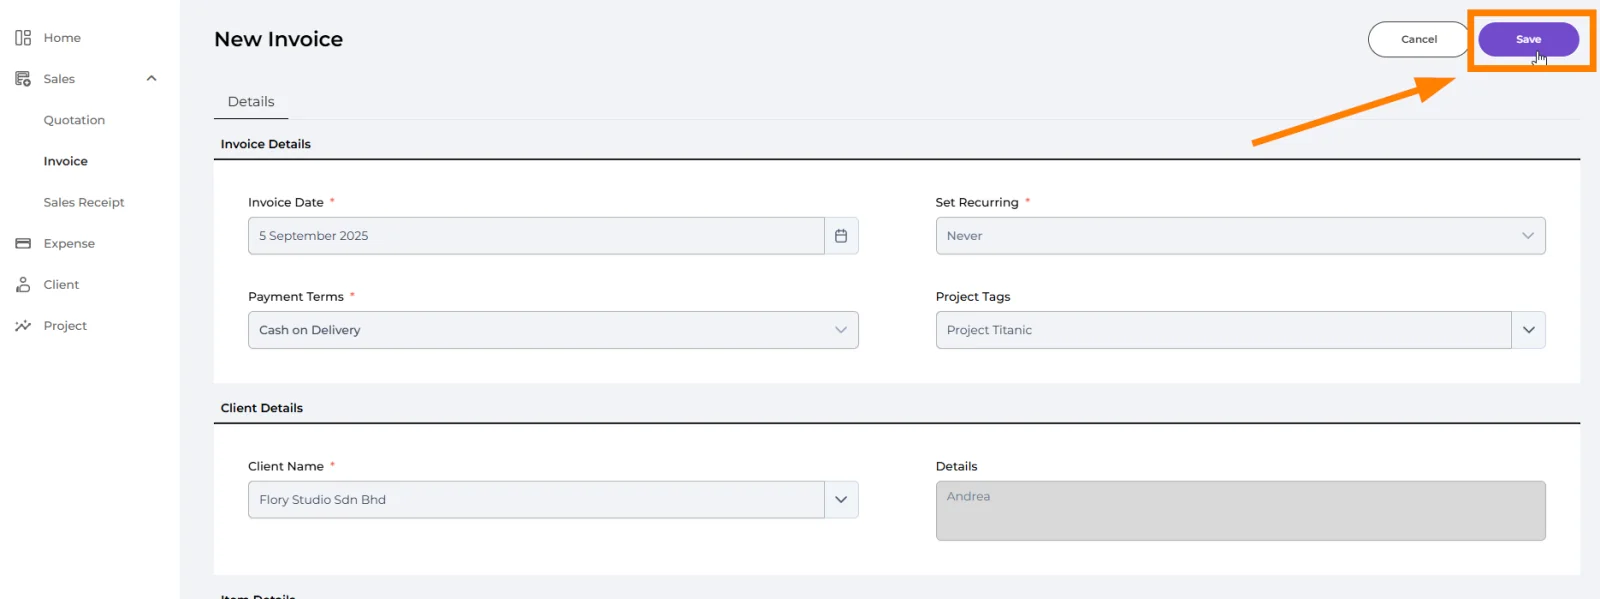
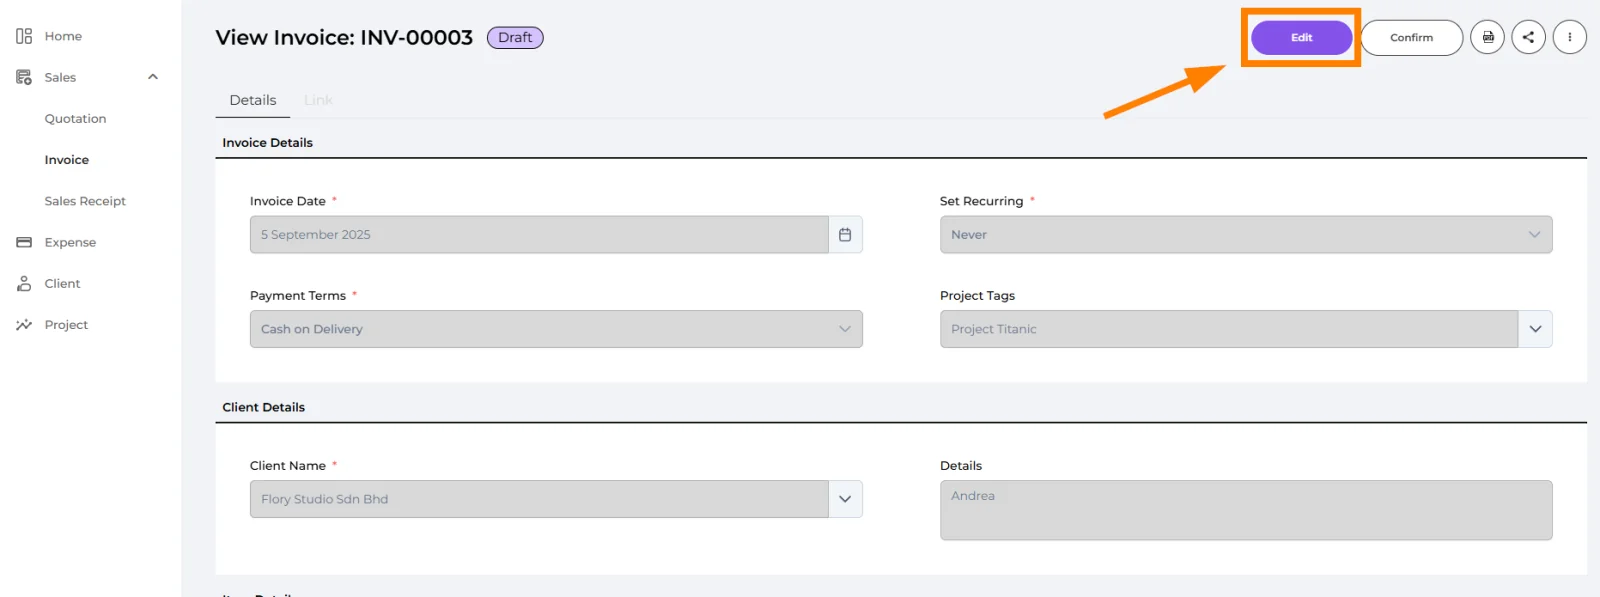
Once invoice is created, the invoice will be created in Draft status, and an invoice number (e.g. INV-00001) will be automatically assigned.
To make changes, click "Edit", update the details as needed, and then click "Save" to store the updates.
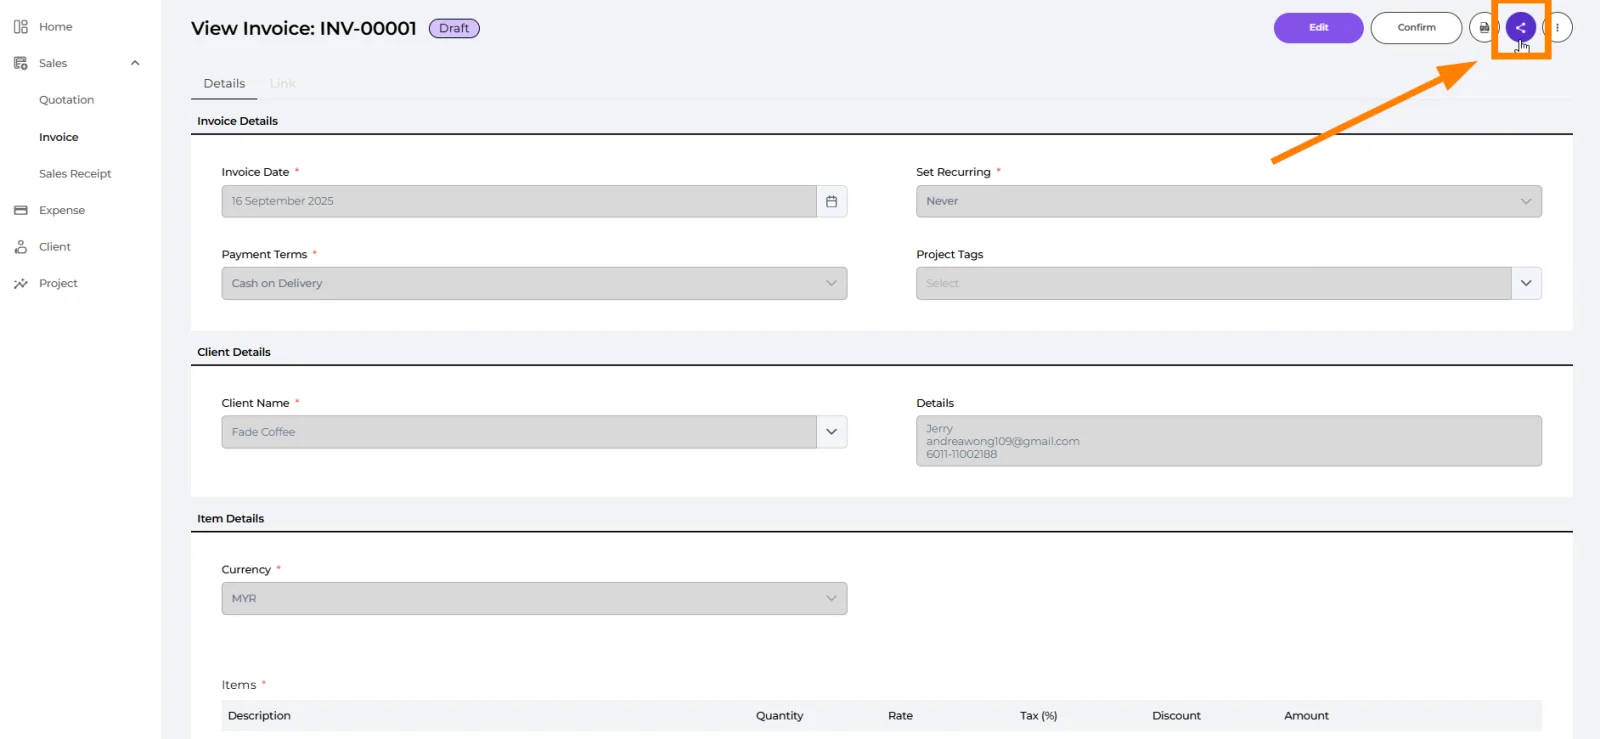
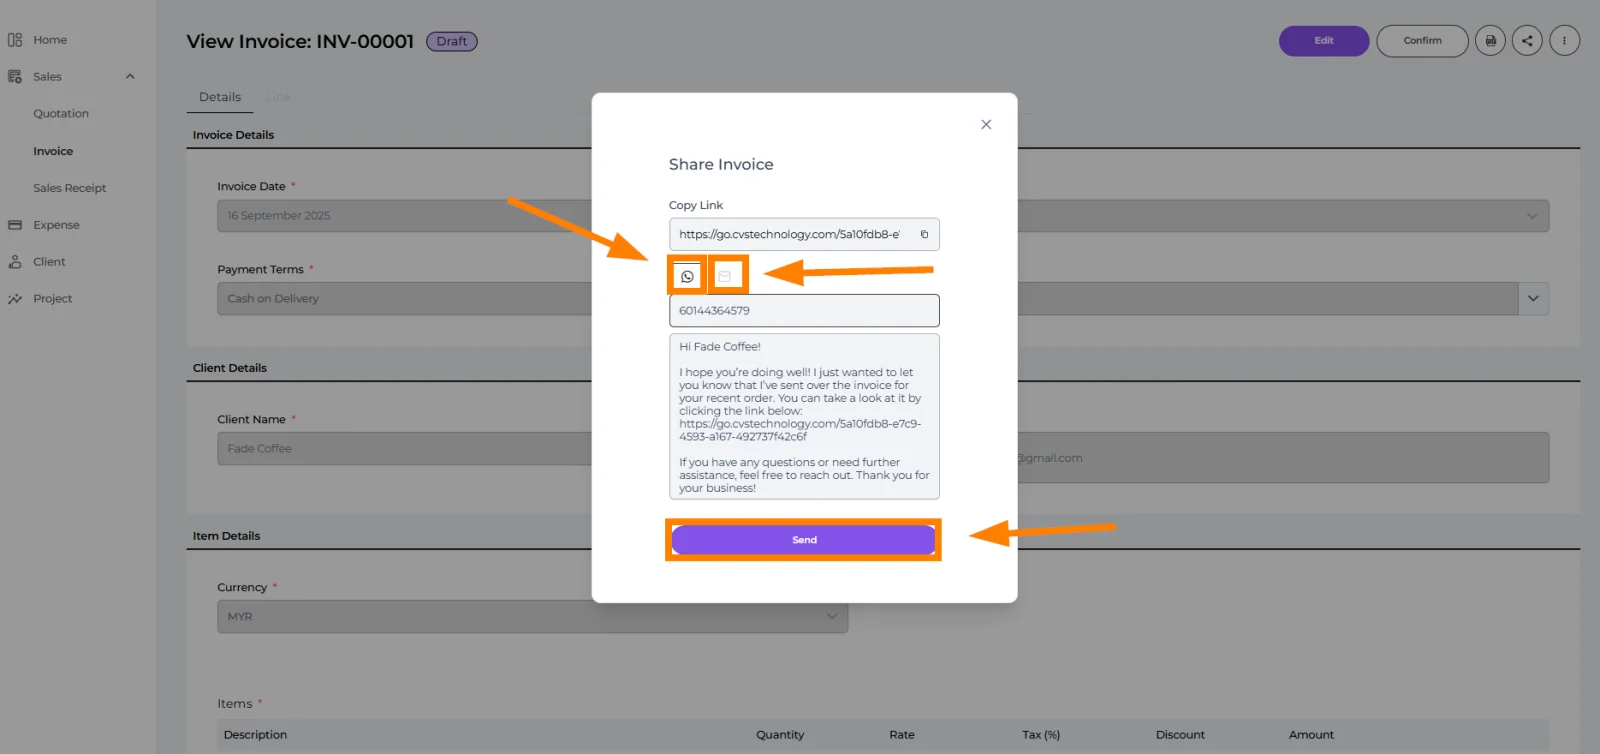
Click the Share button to send the quotation directly, either by WhatsApp or Email
- WhatsApp – Contact number and default message autofill. Edit if needed, then Send.
- Email – Email address and default message autofill. Edit if needed, then Send.
💡 Tip: Ensure client details (phone & email) are filled in so fields populate automatically.
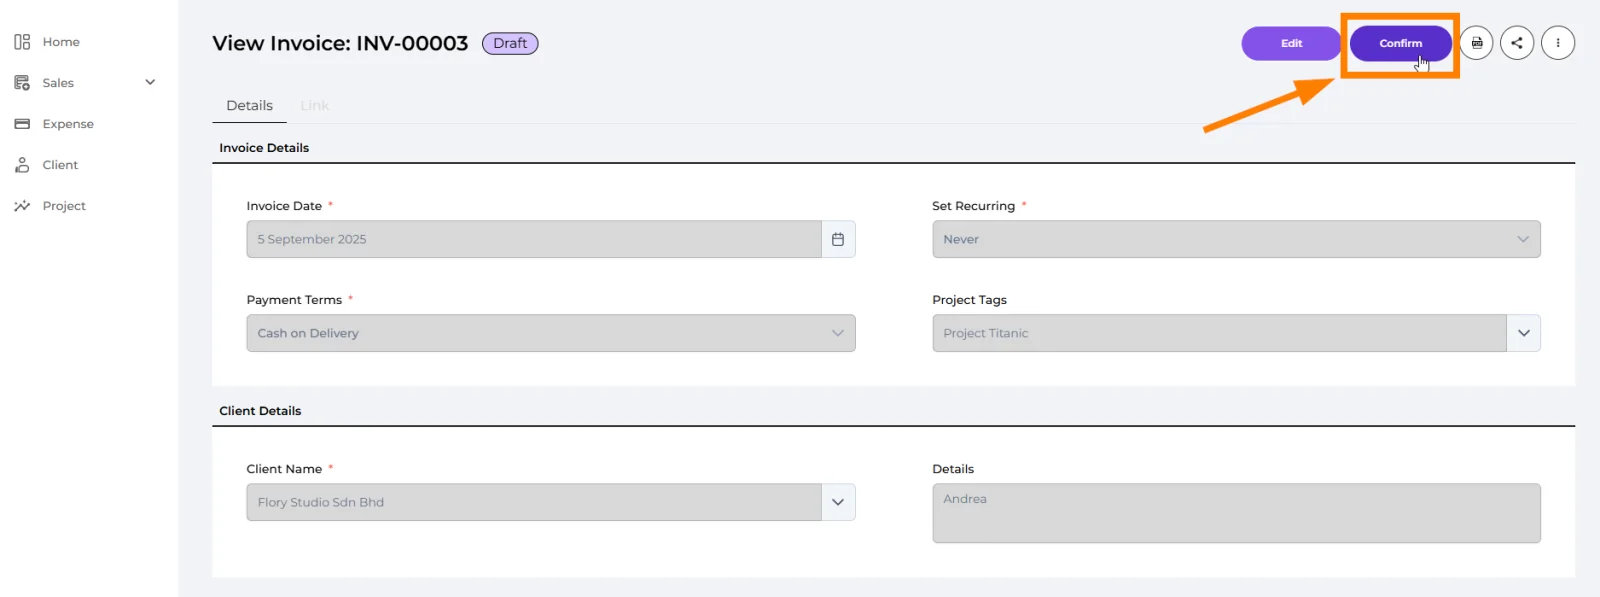
Click the Confirm button to finalize invoice details.
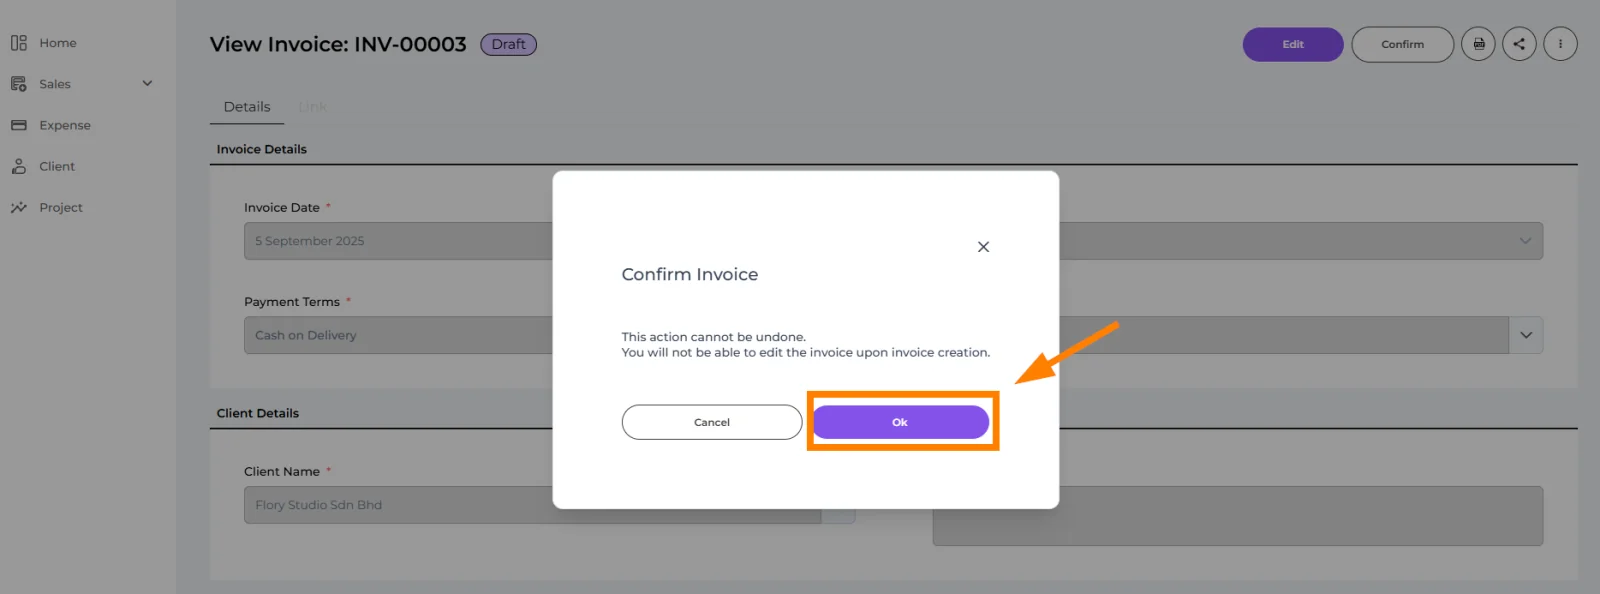
A confirmation pop-up will appear, notifying you that once the invoice is created, it cannot be modified.
Once you click OK, the invoice status will be updated to Pending.
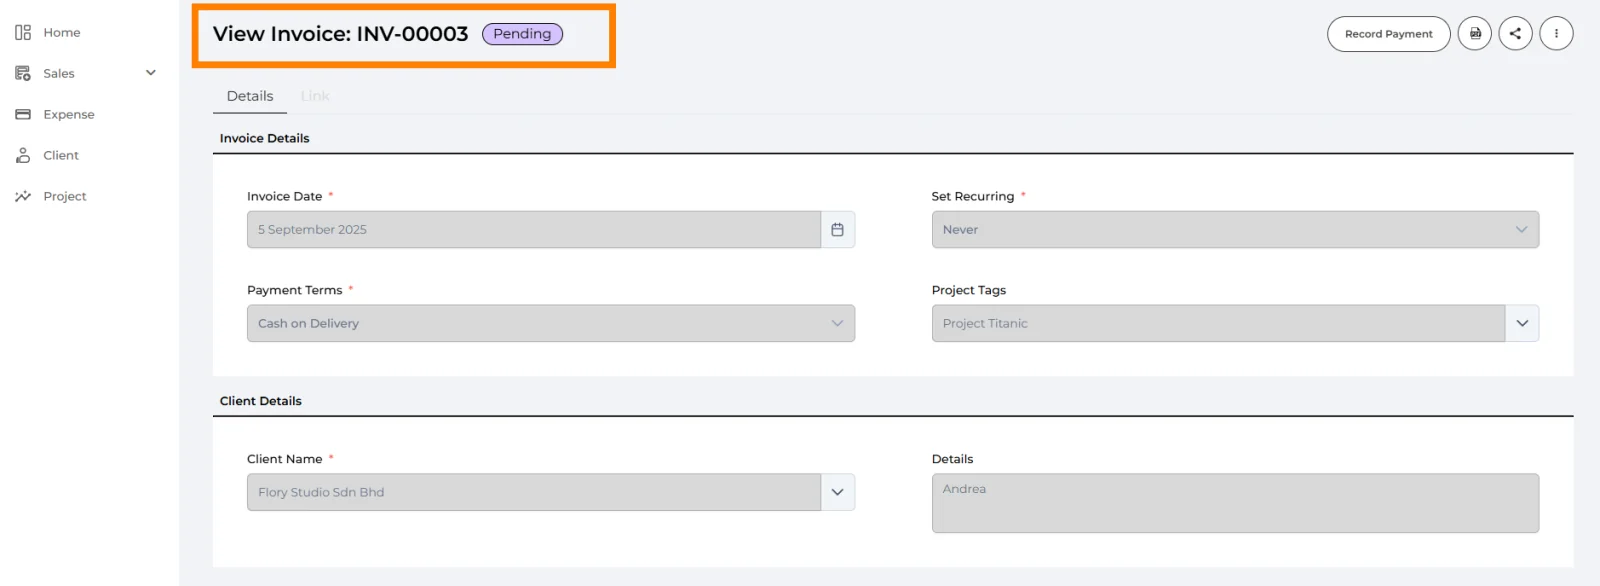
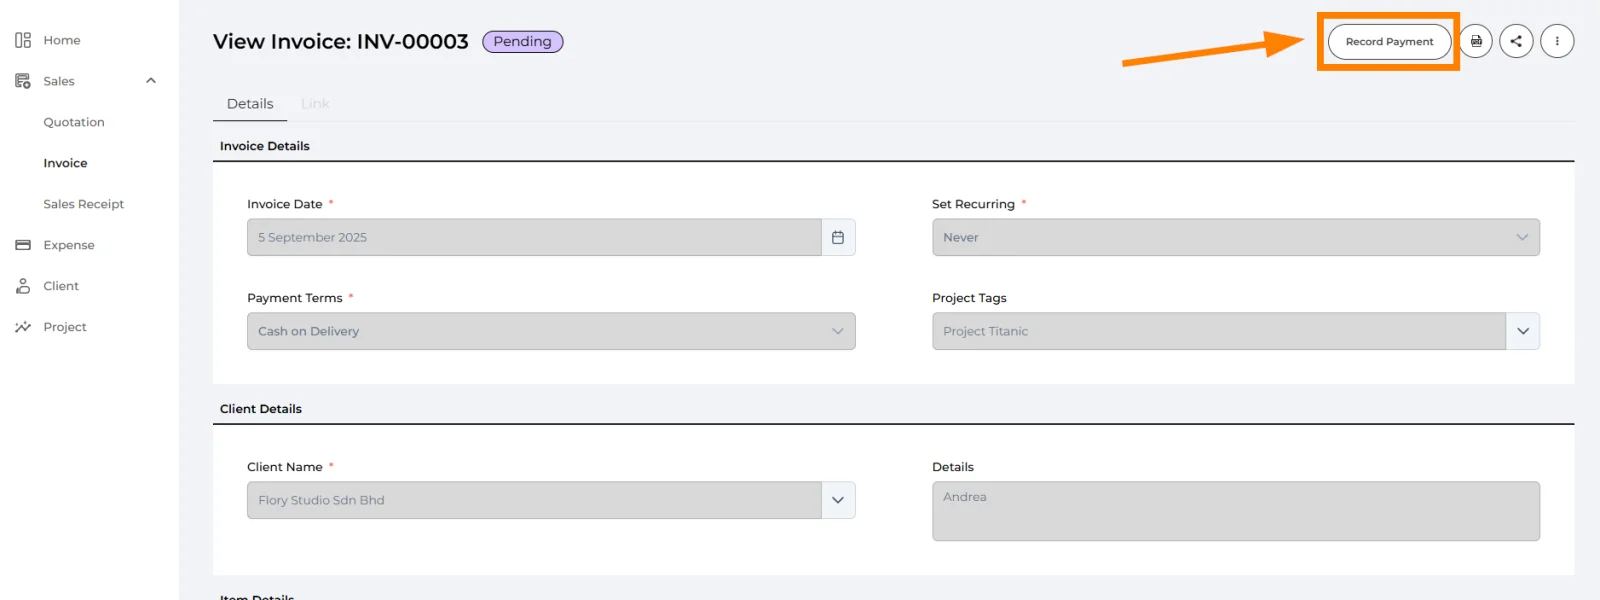
Navigate to the issued invoice, then click the “Record Payment” button to proceed.
You will be redirected to the Sales Receipt Creation page. Some fields will be automatically populated based on the invoice details.
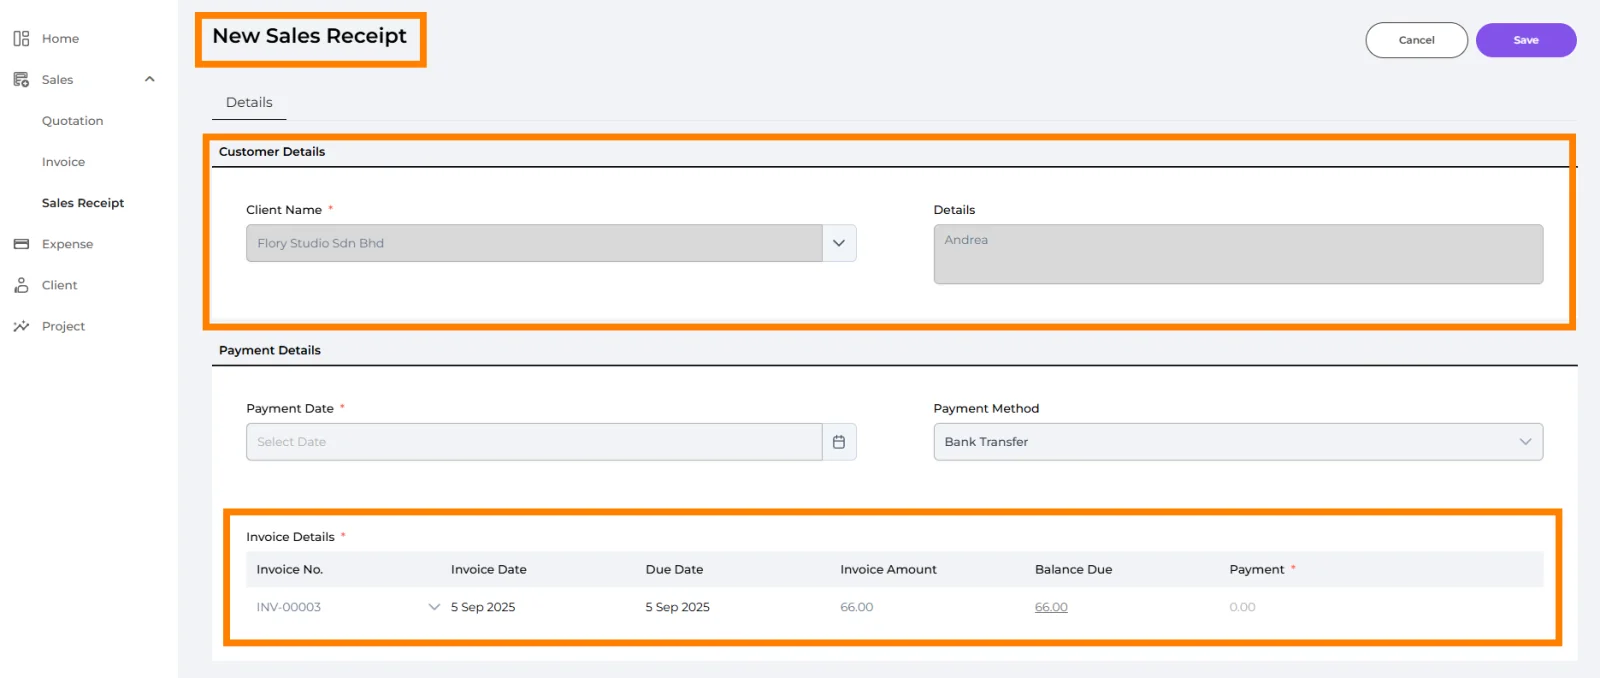
For more information on creating sales receipt, please refer to the Sales Receipt section.
Well done! You’ve finished this guide.
You can go back to any step at any time.