

Expense
An expense refers to any cost or expenditure incurred by the business in the course of its operations.
PigeonScan: Automatic Expense Entry
Effortlessly save time by letting PigeonScan automatically extract key information from your uploaded attachment and populate the fields, eliminating the need for manual entry.
Navigate to "Expense" tab and select "Add new" button

🔹 Attachment
Option 1: Single Receipt
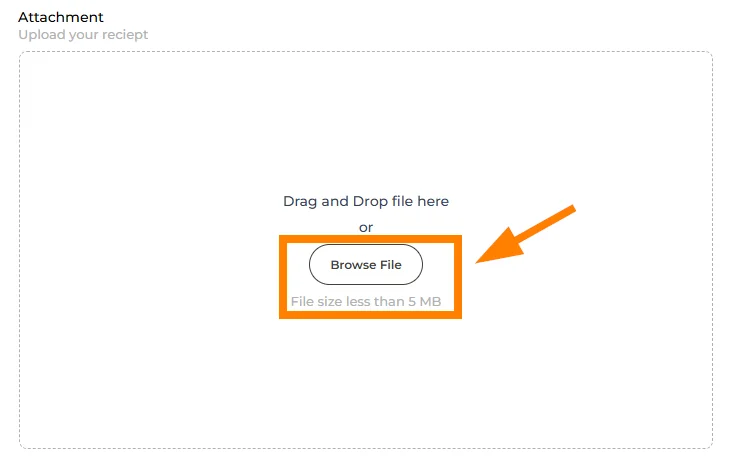
Upload one receipt at a time by clicking "Browse File" or drag and drop the file into the designated area.
Ensure the file is in an acceptable format (e.g., PDF, JPEG, PNG) and within the size limit.
Option 2: Batch Upload
Navigate to the Expenses tab, then click on Snapbox. Next, click the Upload button located on the right-hand side to begin uploading your files.

Upload multiple receipts in one go by selecting all files at once. Ensure the files are in the supported formats (e.g., PDF, JPEG, PNG) and within the size limit.
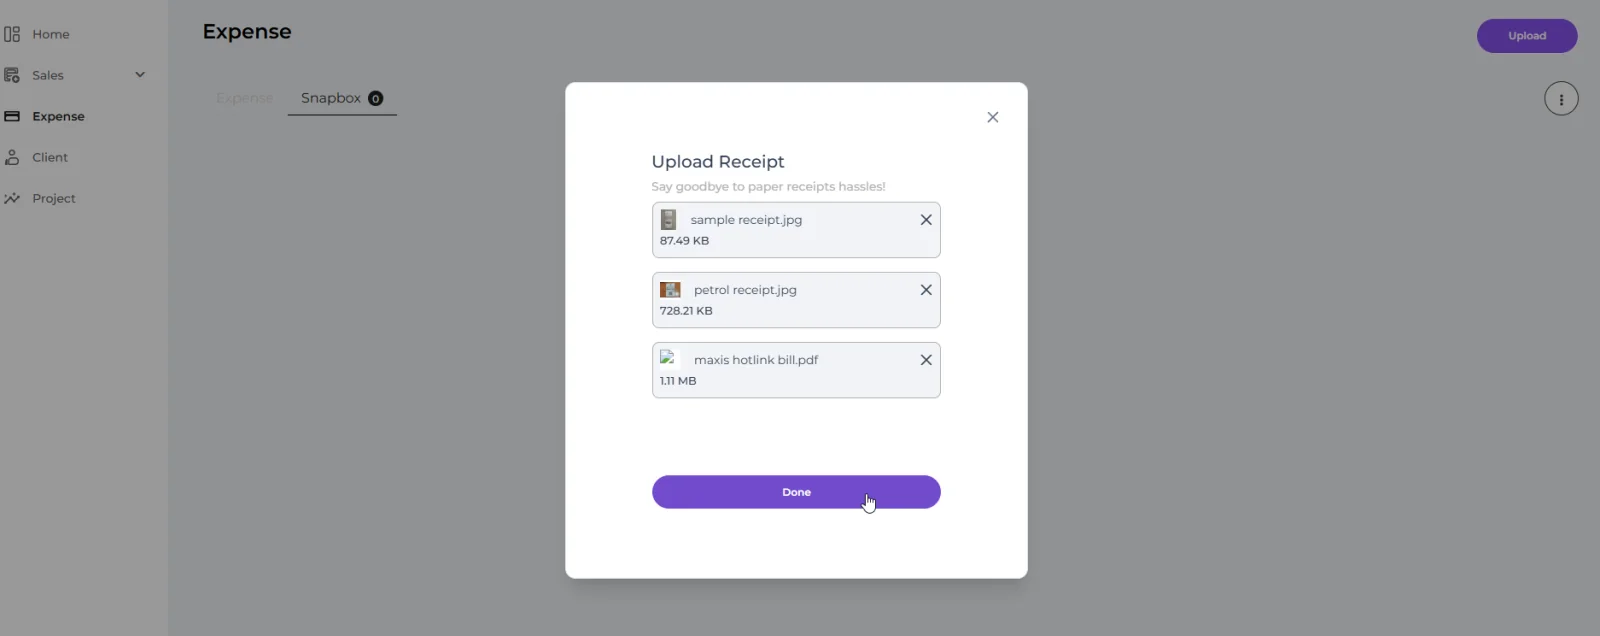
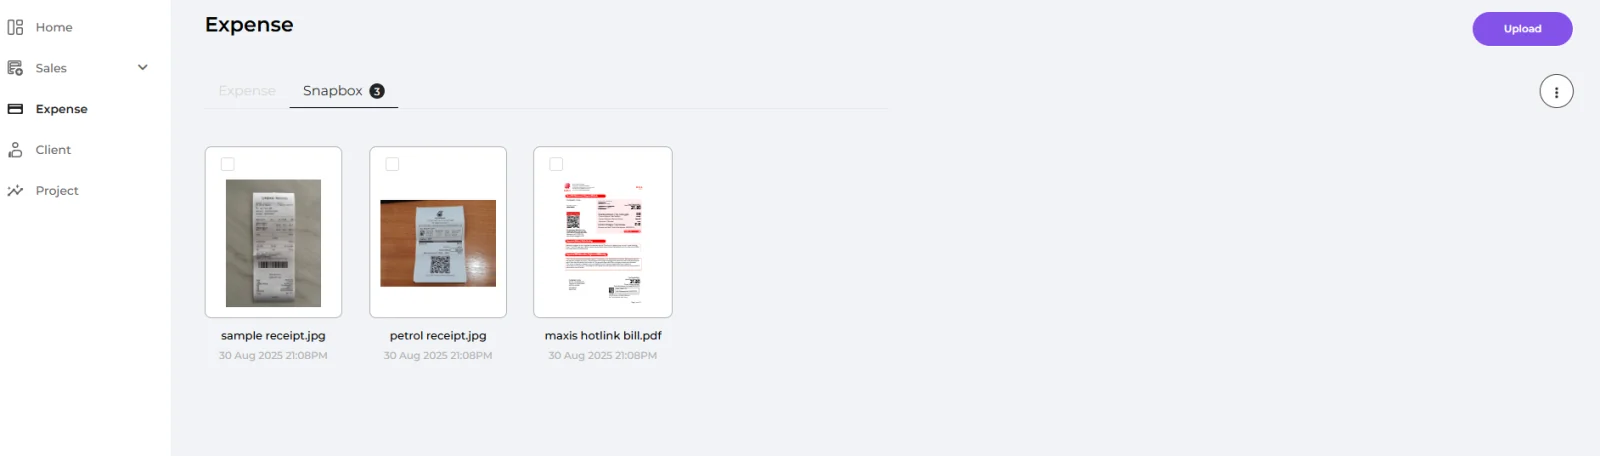
Once the upload is complete, the files will appear under the Snapbox tab, confirming they have been successfully uploaded.
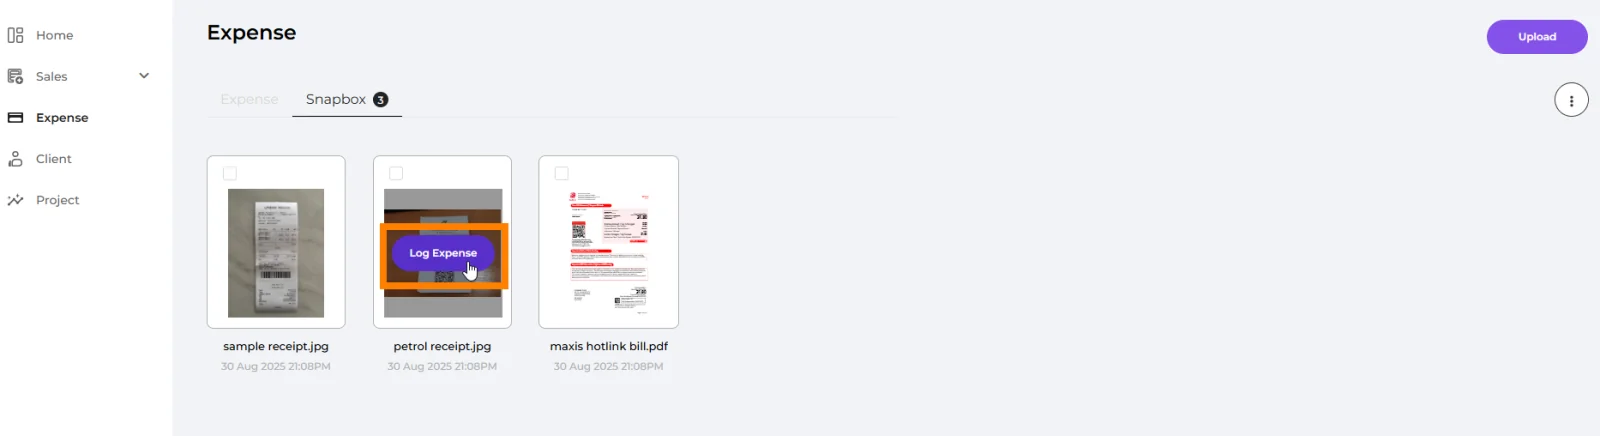
Hover over the uploaded files and click "Log Expenses" to record expenses based on the selected files.
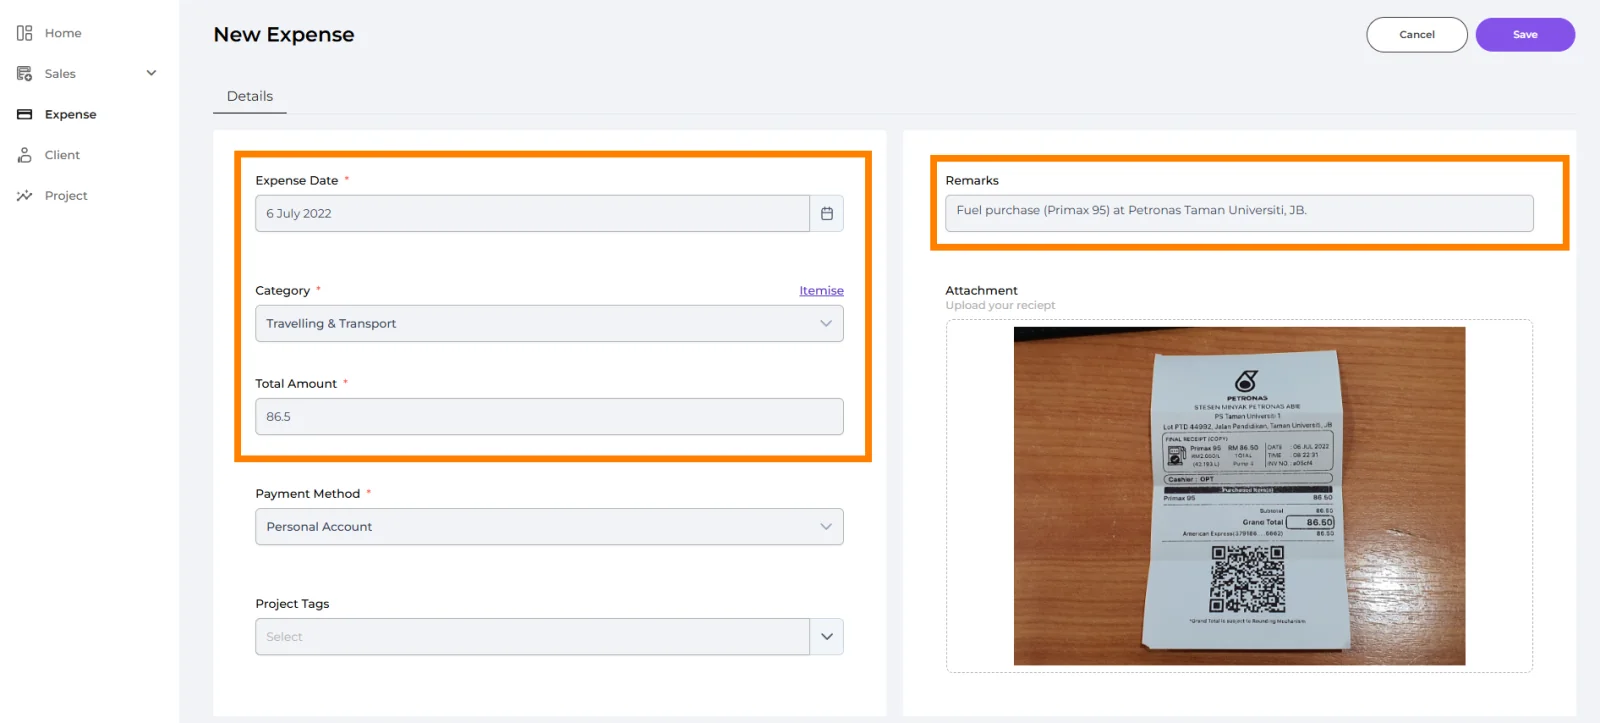
Once the attachment is uploaded, PigeonScan will automatically extract and populate key expense details, such as Expense Date, Category, Total Amount, and Remarks.
Review and edit any incorrect information before proceeding.
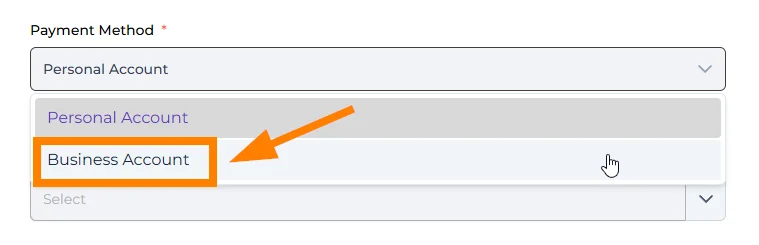
🔹 Payment Method (Required)
Select the payment method used for this expense (e.g., Personal Account, Business Account).
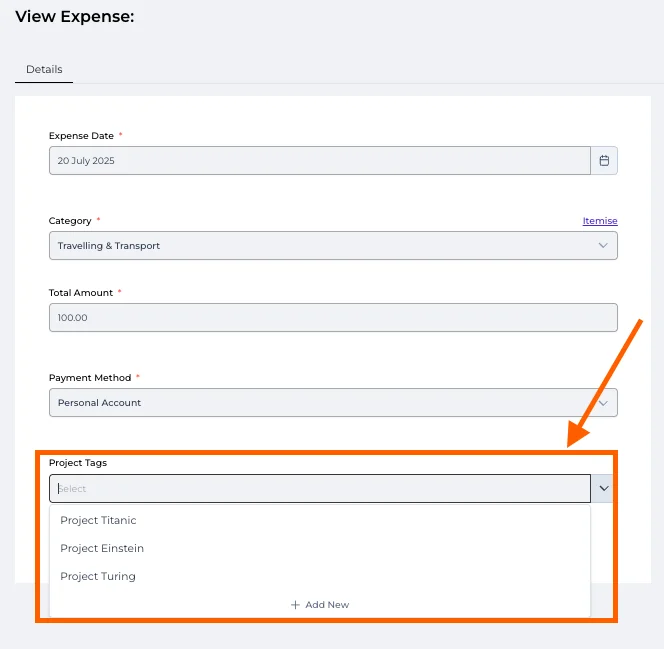
🔹 Project Tag (Optional)
Choose an existing tag or click "Add New" to create a new project tag.
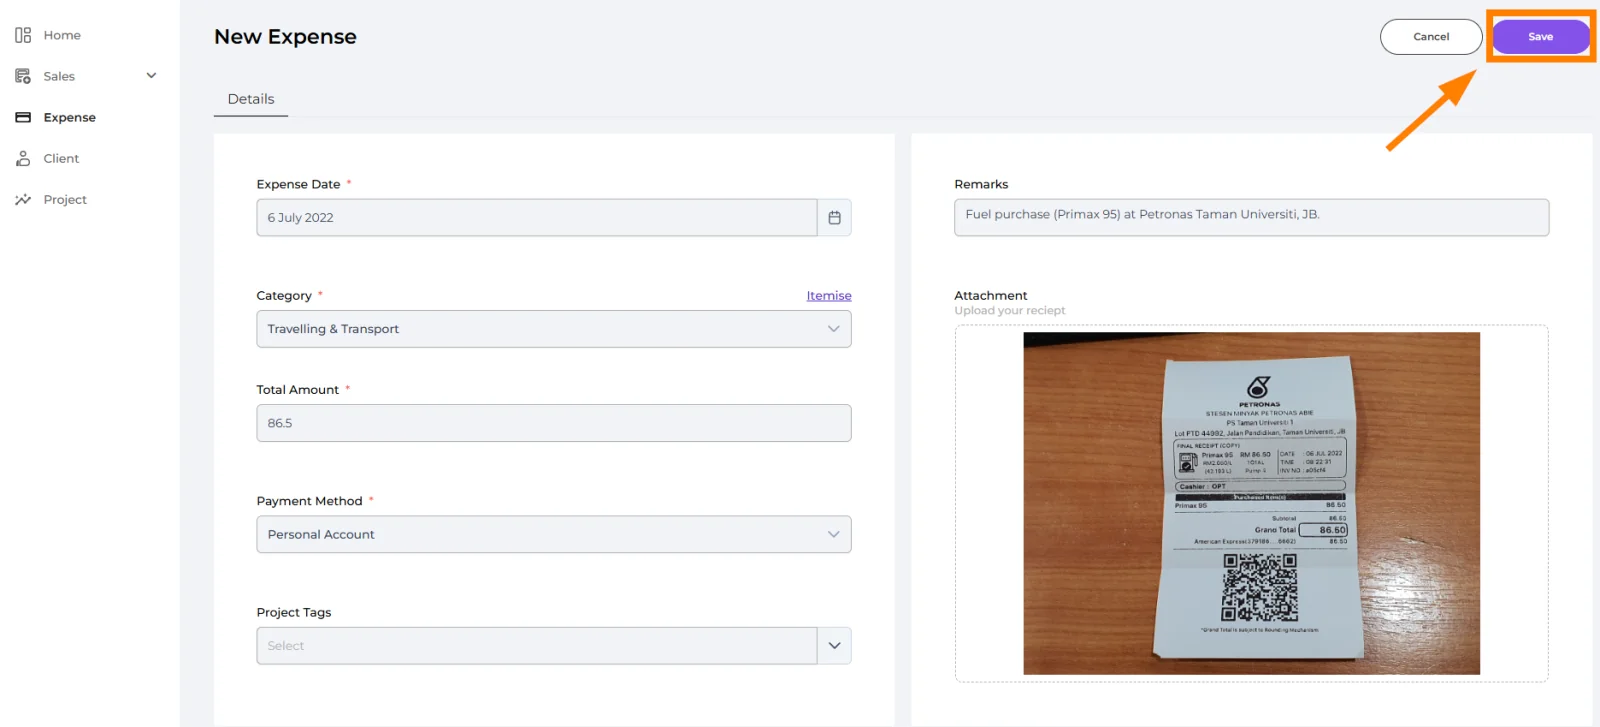
Click the "Save" button to expense details.
Well done! You’ve finished this guide.
You can go back to any step at any time.